3D Printing
How to Prepare Your File to 3D Print
Once you’ve finished designing and saving your file, you can prepare it to print in Solid Edge.
Begin by saving your design, which you can do by clicking the Save button at the top of the screen. This ensures that you have a design that can be opened and edited in SE.
Next, click on the Solid Edge Application Button in the top left of the screen.
![]()
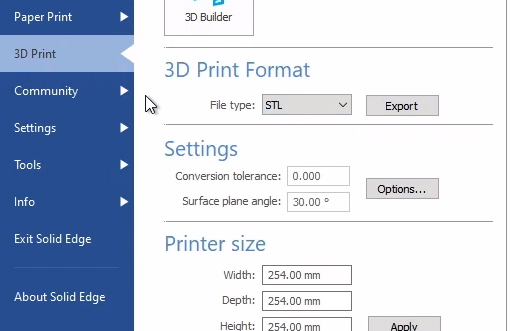
In the blue sidebar menu on the left side of your screen click 3D Print.
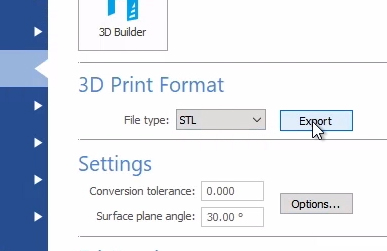
Under 3D Print Format set the File type to .STL. STL is the standard file type for most printers. In order to 3D print your design, you’ll first have to convert it into an .STL file, and import that .STL file into your printer’s slicing application.
What is Slicing? Slicing a 3D design translates the file into a language that a 3D printer can understand and print. Basically, the slicing software takes your design and slices it layer by layer so that the printer can read how to print the design.
For example, Makerbot has a desktop application called Makerbot Print, which can slice any .STL file and make it readable for any type of Makerbot printer. You can adjust the settings in Makerbot Print to select the type of printer you have and make adjustments to the accuracy of the print.
Be sure to follow the slicing instructions based on the type of printer you’re using.
Under Settings, next to Conversion tolerance, click on the Options button.
A pop-up window will appear that shows various export options for the .STL. Under Tolerance Options, select Fine (if it’s not already selected). This option confirms that the print will closely resemble what you designed. Hit OK.

There should be a visual preview on screen that updates as you make adjustments, so after selecting the Fine option, you can see your print change from a low quality so-called “low poly” print, to a detailed, higher quality print that looks exactly as you designed it.
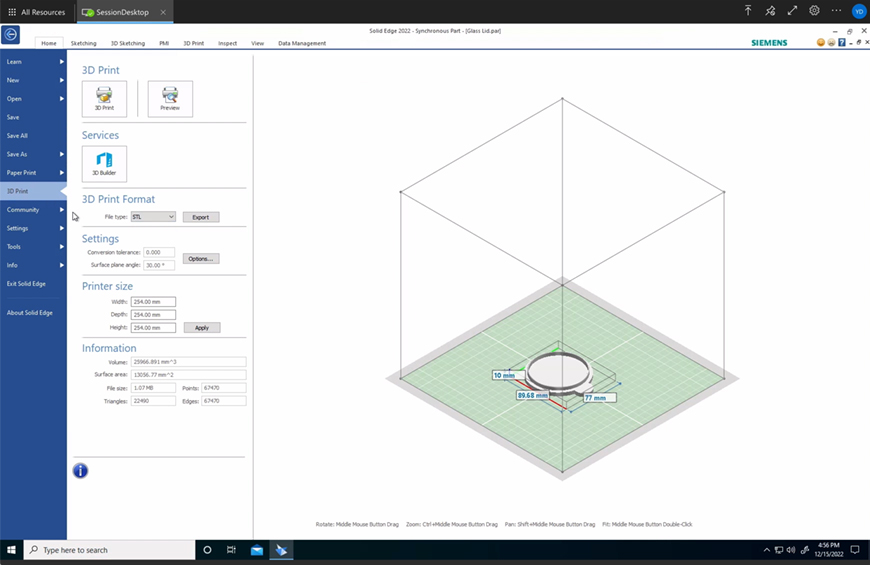
Under 3D Print Format select Export and choose where to save the .STL file. After saving, you’ll have your design saved as an .STL file that’s ready to be sliced! Reach out to the person who handles 3D printing in your school to have your file printed.