Knowledge
How to Use the Lip Tool
The Lip Tool is used to create a lip or carve out a groove along an edge. You can choose whether material is added to form a lip, or removed to form a groove.
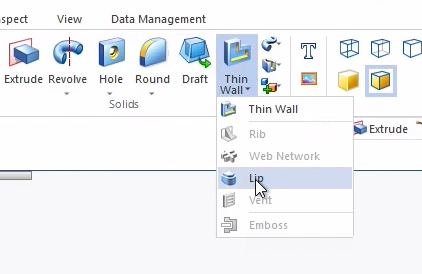
In the Solids Panel, Thin Wall tool drop-down menu, select Lip.
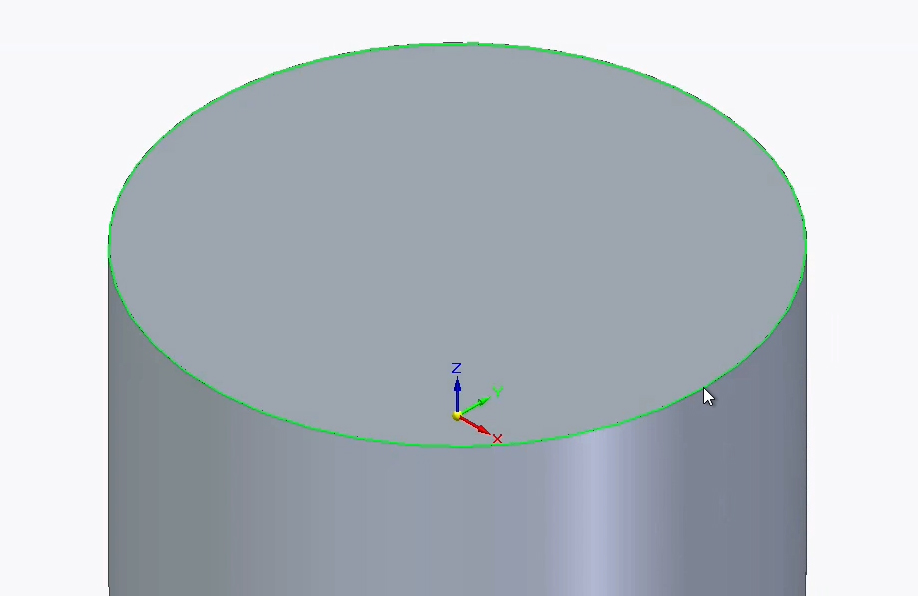
Click the edge where you want to add a lip.
Make sure Chain is selected in the mini-toolbar and click the green check mark.

The mini-toolbar should change to include Width and Height. Enter measurements for the size of your lip.

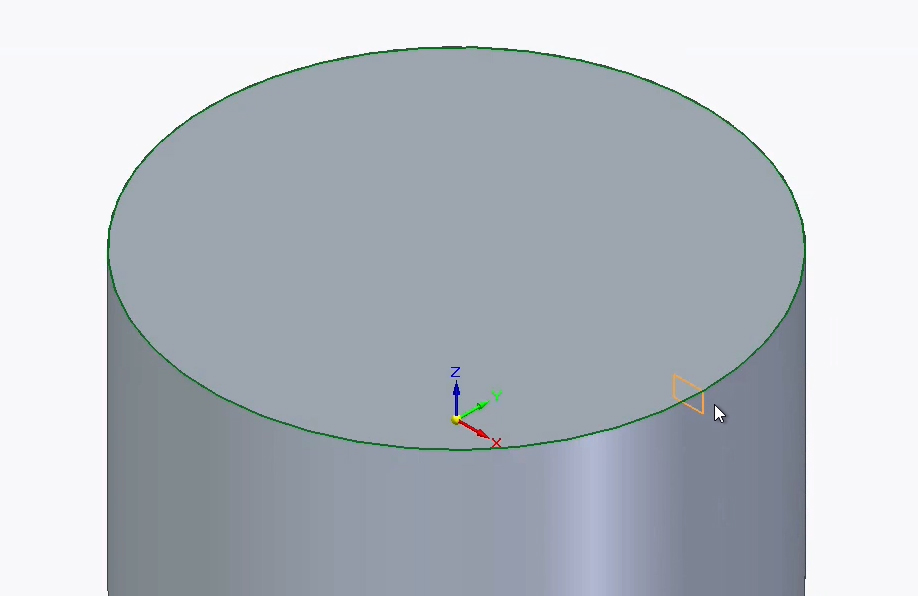
Now look around the selected edge to find a yellow box that previews where the lip will go. If you entered small dimensions you may need to zoom in to find the box.
Move your mouse to adjust the lip location. If you place it within a solid, it will cut away material, forming a groove. If you place it outside your solid, it will add material, forming a lip. Once positioned, click anywhere to place the lip. Hit Finish on the mini-toolbar to confirm.
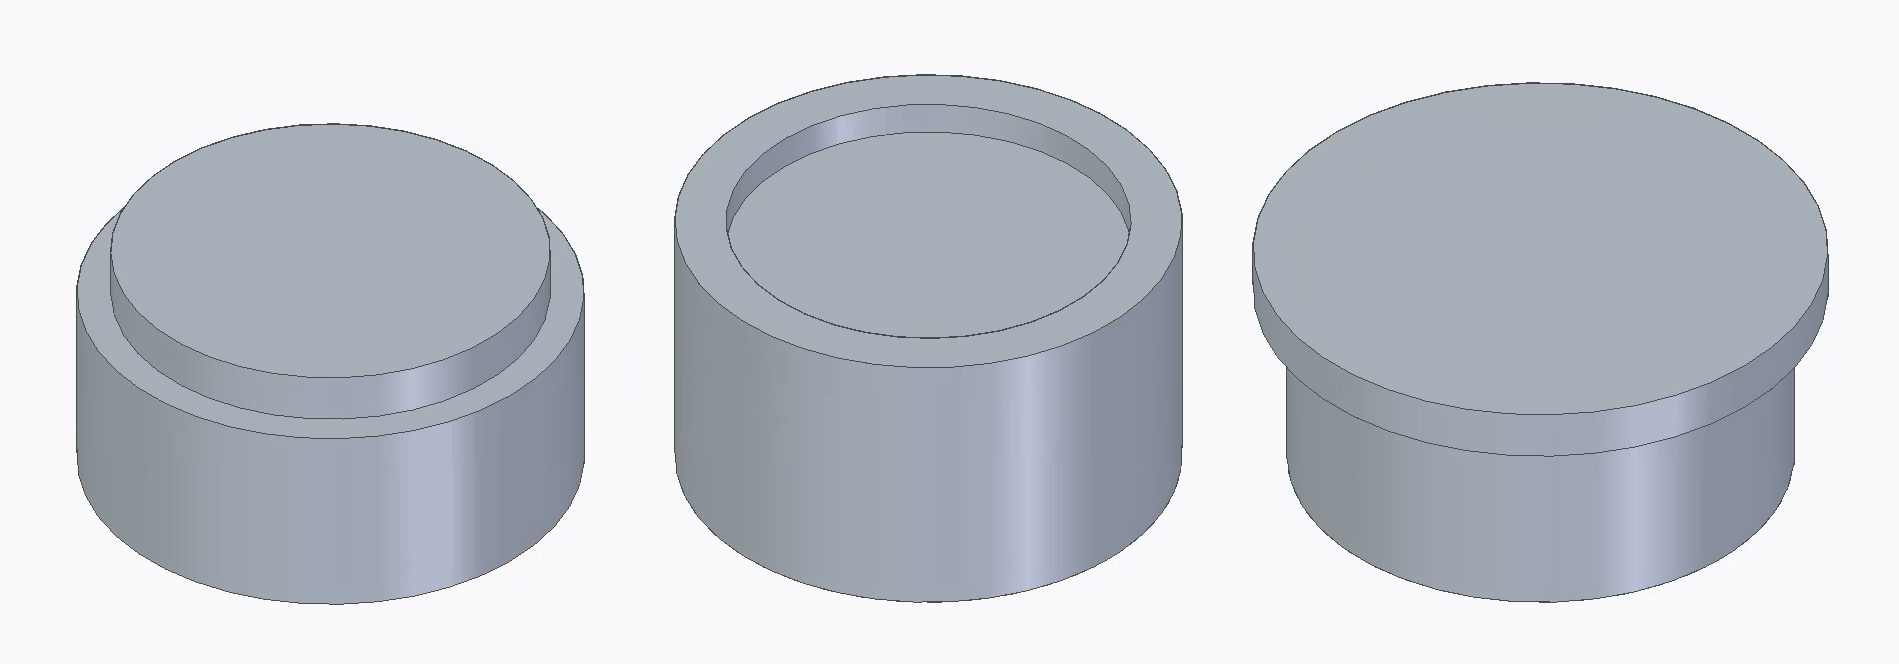
You should now have a lip or groove depending on the positioning you chose. If you want, you can apply other tools on top of Lip. For example, you can use the Round tool to smooth the edges of the lip you made.