Module 1
Making Contact with Solid Edge
Look around you. Really look.
Notice how many of the objects you see, objects that you use, objects that you need or want, were designed by a person. Your water bottle. Your phone. Your sneakers. The chair you’re sitting on.
Now think about the design process that made those objects. Designers often start by creating a visual sketch of their idea. That sketch can be a 2-dimensional drawing on a piece of paper. (Like a doodle in the margin of your notebook.) But the objects themselves aren’t flat like paper—they’re 3-dimensional. That’s why many designers use computers to sketch their ideas in 3D.


3D stands for “three-dimensional”, which means having (or appearing to have) three dimensions: width, height and depth.
3D Modeling refers to the process of creating a 3D representation of an object on your computer using specialized computer software. This special software is called “Computer-Aided Design” software, or “CAD” for short. The CAD software we’ll be using in BaseBuild is called Solid Edge. But there are lots of other programs you can use.
3D Printing is when you turn a digital 3D CAD model on your computer into a solid, three dimensional object in the real world. What can be 3D printed? All sorts of objects! Jewelry, tools, furniture, machine parts, toys…if you can imagine it and model it, chances are you can 3D print it.
Before we can jump into your first 3D modeling project, you’ll need to access the CAD software we’re using.
Go to the Solid Edge website, log in, and launch the software.
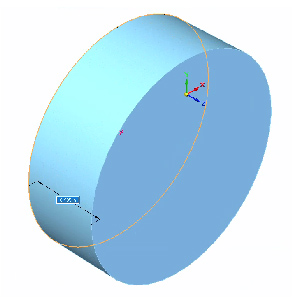
We’re going to begin by opening a file we already made – not to design it, but to give you a better sense of how Solid Edge works.
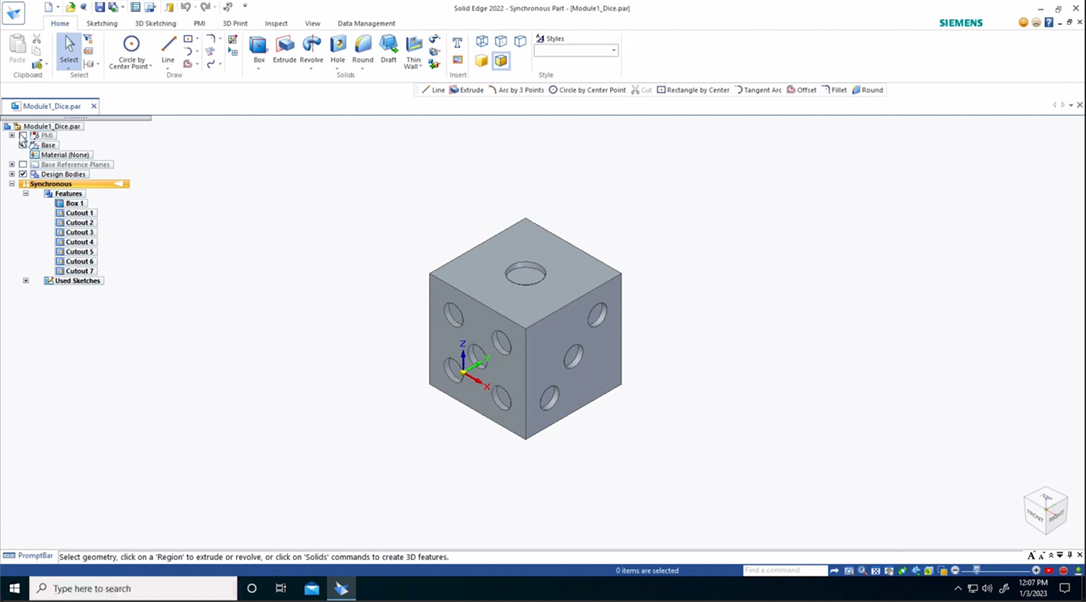
Click Open, Browse, and under Documents select this file: Module1_Dice.par
You should see a 6-sided die appear in your window. The die is a tool to help us navigate in Solid Edge.
Don’t be afraid!
We know all the icons and tools you see in Solid Edge might feel a bit overwhelming. But we’re going to break down the most important tools and commands that you’ll need when designing and navigating the program.
There are various tabs across the top of the screen, and under each tab, a set of tools. We’re going to begin by working mainly under the Home tab.
Ready?
Let’s get familiar with the tools and options on your screen.
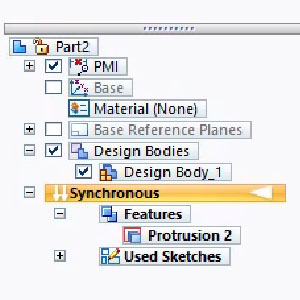
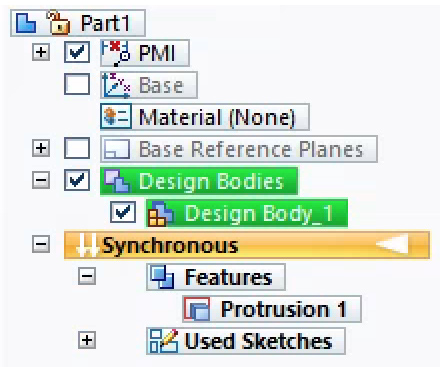
Toward the top left of the screen you’ll see the Pathfinder:

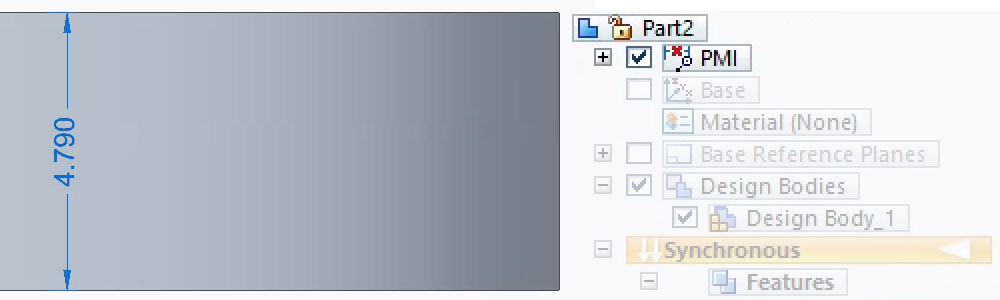
The Pathfinder Tool lets us turn different options for your design on or off with a checkbox.
This is helpful if you want to focus on a particular part of your design and don’t want to be overwhelmed by too much information. Try checking these items on and off in the Pathfinder to identify what they are.
- PMI
- Base (Base Coordinate System)
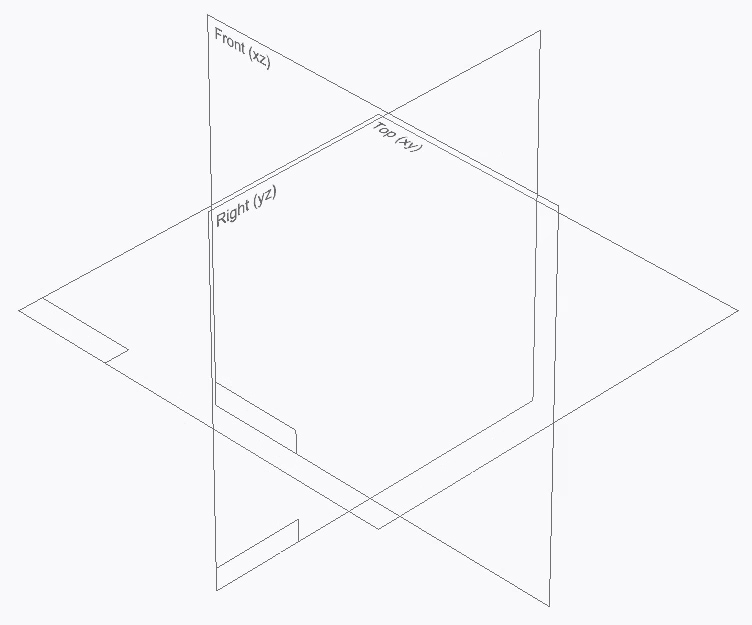
- Base Reference Planes
- Design Bodies
Tip: Click each vocab word to learn more about them.
Various keyboard and mouse commands will help you more easily navigate the Solid Edge interface (how the program appears on your screen.) We strongly recommend that you use a 3-Button Computer Mouse when working in Solid Edge!
Practice the following commands on the die to better understand Solid Edge’s functions.
Zoom in
Hold Control + Right Mouse Button and drag, or scroll with your mouse or trackpad.
You can also use the Zoom and Fit buttons at the bottom of the screen.
Rotate view around
Hold Shift + Right Mouse Button and drag. Or click and hold your mouse scroll wheel while dragging.
If you don’t have a mouse, use the rotate button at the bottom of the screen.
Panning your view
Hold Control + Shift + Right Mouse Button and drag.
Or if you don’t have a mouse, use the Pan button at the bottom of the screen.
Tip: If you select part of the object or change tools without meaning to, you can deselect them by choosing the Select Tool under Home and clicking the white area around the object.
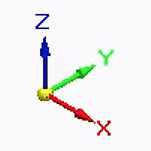
Viewcube
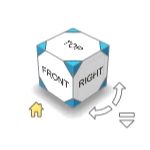 The Viewcube feature helps to orient your sketch if you want to view it from a particular side (ex. Top, Bottom, Left) or angle. By clicking the little house button in the bottom left corner of the Viewcube, Solid Edge will reset the view back to a view of the top right corner, centered in the middle of the screen.
For a full list of keyboard shortcuts to reference while you work, click into the Quick Tips icon at bottom left of this window and pull up the keyboard shortcuts reference sheet.
When you’re comfortable navigating around the object, close the file we have open so we can make a new one.
With Solid Edge open, go to New on the left side of the screen and click New again.
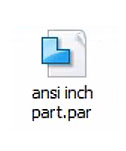
Under Standard Templates you’ll see different options for the measurements Solid Edge can design in. For this new file, let’s use the ANSI Inch template, which will measure everything in inches.
Select the .PAR file extension as well, so that you’ll be able to sketch your design in separate parts.
Click OK and your new document is good to go.
There are several ways to save the design you’re working on so you can go back and make changes or continue working later. Use whichever method of saving you prefer!
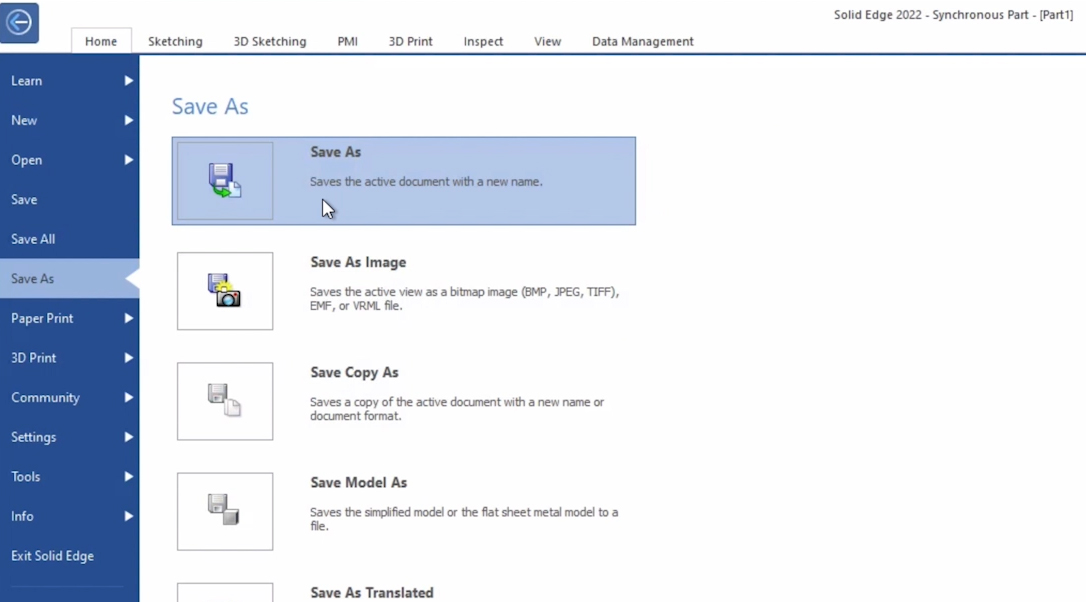
Using the Solid Edge Application Button:
- On the top left of the screen click on the Application Button.
- In the left sidebar, click Save As, then Save As.
- Name the file.
- Click Save.
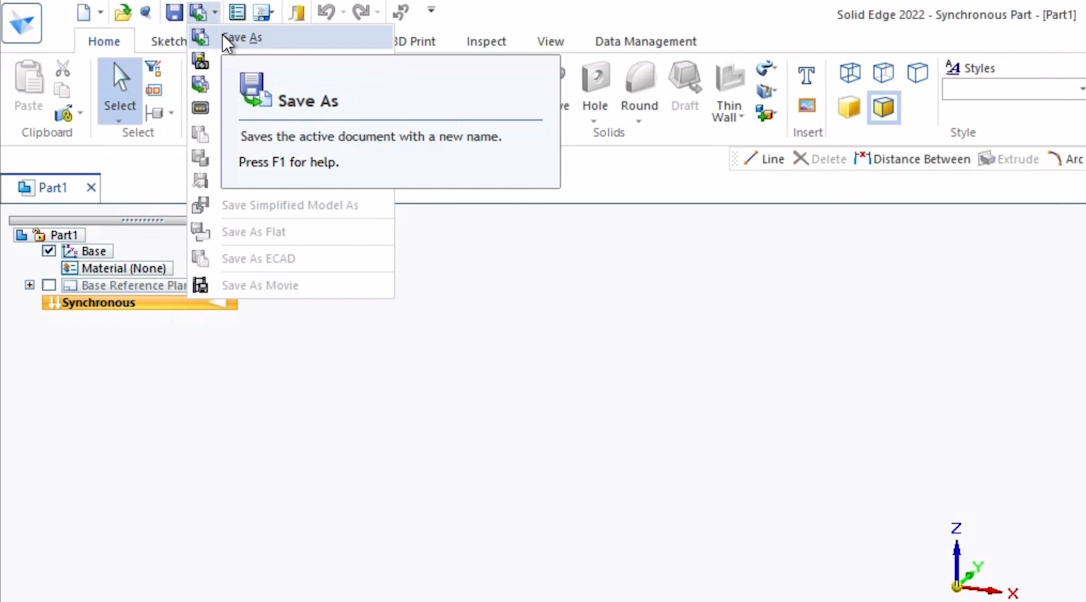
Using the Save As Button:
- On top of the Sketching tab click on Save As.
- Click on the Save As dropdown panel, & click on Save As on the new menu.
- Name the file.
- Click Save.
Using the Keyboard Shortcut:
Hit Control + S if you’re working on a PC or Command + S if you’re using a Mac to quickly resave your file (without renaming it).
Okay!
Now You’re up!
Now that you’ve made contact with Solid Edge, let’s see if you can do the following:
- Under Pathfinder, turn Base Reference Planes on. Then use the Viewcube to toggle between views.
- Under the Documents folder, open a different existing file of your choosing. Can you guess how the object was made? (Hint: Look under Pathfinder.)
- Zoom into a feature on the object…keep zooming. Zoom all the way in until you don’t know what you’re looking at! Now try to return to the original view. (Hint: Don’t forget about the Viewcube and the zoom tools at the bottom of the screen.)
How did it go? Submit your feedback.